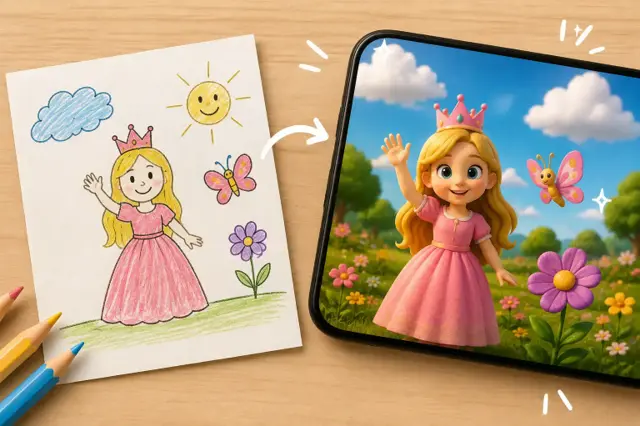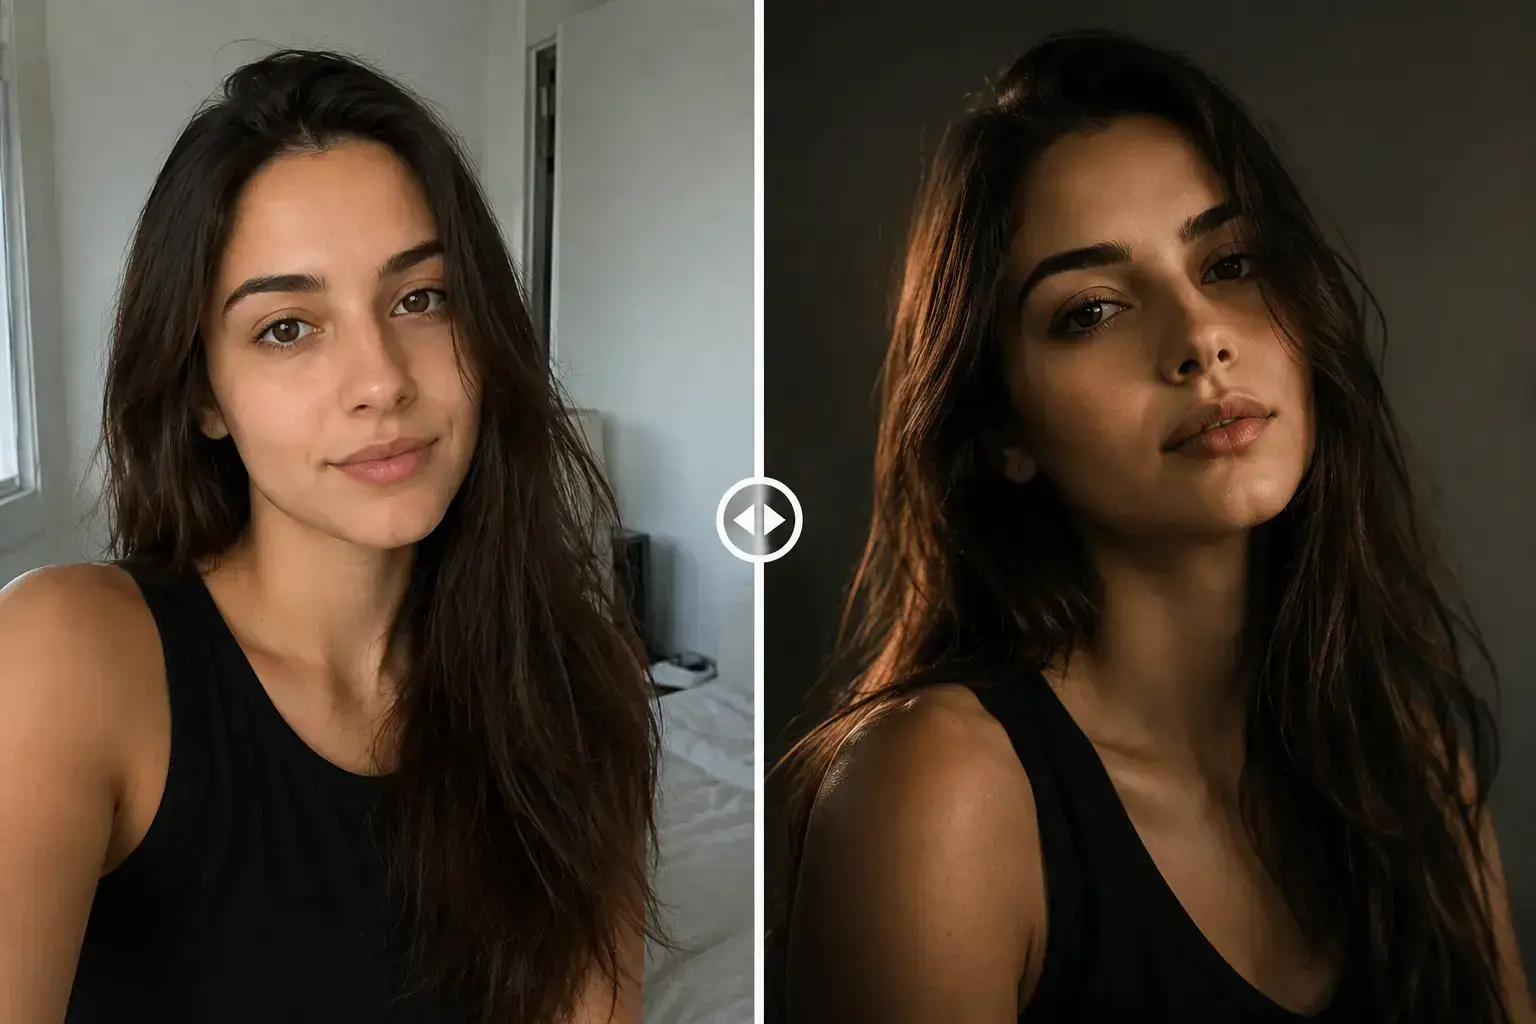
Those "before/after" formatted AI photos you've frequently encountered recently on Instagram, TikTok, or X are attracting great interest. A standard selfie transforms into a studio-quality portrait, a nostalgic shot from the 90s, or a completely different artistic style in seconds. In this article, we explain step by step how this trend became so popular and how you can create your own before/after image.
Why Is This Trend Attracting So Much Interest?
The reason for the success of the before/after format is actually quite simple: it visibly proves the transformation. People love making comparisons to understand how impressive an image is. Seeing an ordinary photo of the same person side by side with the processed version both arouses curiosity and triggers the thought "can I do this too?". This naturally increases the share rate.
How to Do It Step by Step?
1. Choose the Right Source Photo
The most critical step starts here. Choose a photo that is clear, well-lit, and where your face is looking directly at the camera. Photos taken in a dark environment, at an angle, or blurry can cause the model to generate incorrect details.
2. Determine the Target Style
Do you want a black and white editorial fashion portrait, or do you want to capture the nostalgic vibe of the 90s? Clarifying the target style makes it easier to choose the right prompt. You can directly select a style you like by exploring the trend categories on TrendimAI.
3. Use a Tested Prompt
Instead of writing a prompt from scratch, using ready-made prompts that have already been tested thousands of times and yielded results saves time. Because these prompts usually already include details like lighting, camera angle, and style reference, you don't need to do trial and error.
4. Evaluate the Result and Tweak if Necessary
The first result might not always turn out as you expected. Don't panic at this point — you can try again by adding a small note to the end of the prompt (for example, requesting a different pose or expression). Most of the time, you will reach the desired result on the second or third try.
5. Share in Before/After Format
In the final step, share your original photo and the AI-generated result side by side or in a swipeable format. This format increases engagement by allowing the viewer to clearly see the transformation.
Points to Pay Attention To
For a realistic result, the resolution of the source photo is important; a low-quality photo will yield a limited result no matter how good of a prompt you use. Also, keep in mind that different platforms use different models — a prompt that works perfectly in one model might require minor adjustments in another.
Conclusion
Before/after AI trends have transformed into a format that anyone can apply in a few minutes with the combination of the right source photo and a tested prompt. Thanks to the step-by-step guides and ready-made prompts we prepared for each trend on TrendimAI, you too can easily create your own transformation visual and make an eye-catching post on social media.